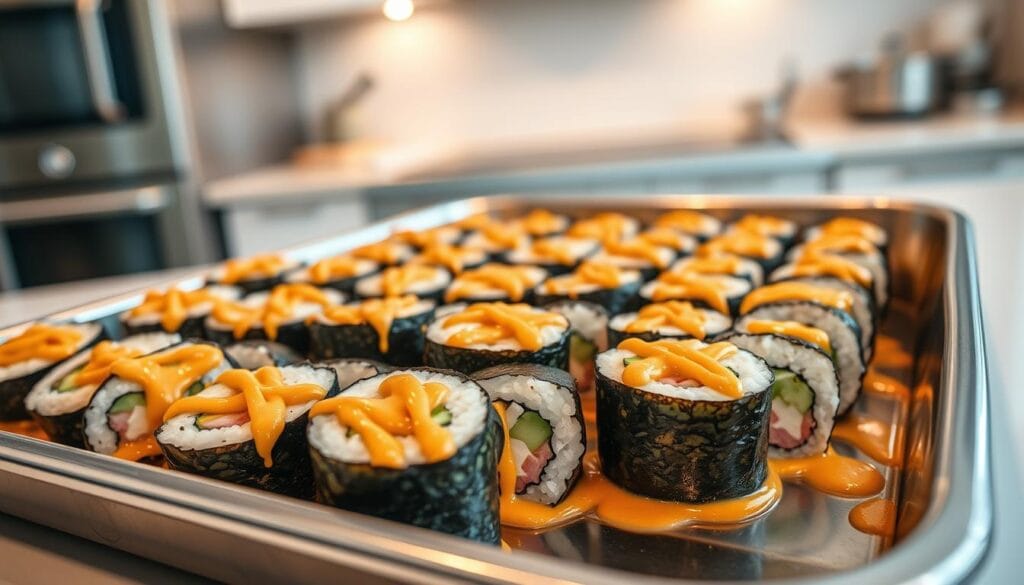
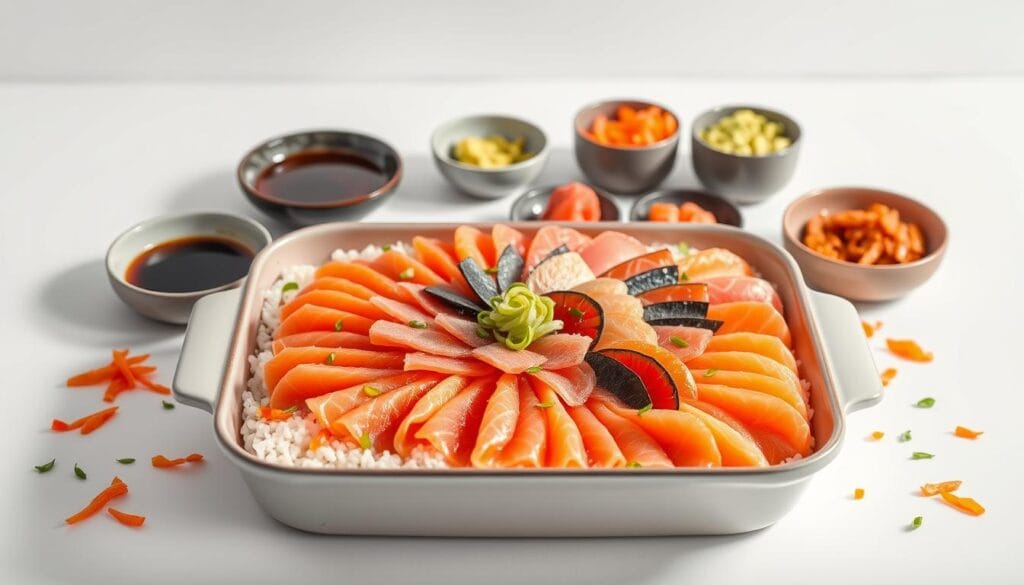
Ever crave the bold flavors of sushi but dread the fuss of rolling? Imagine a dish that delivers that same crave-worthy combo of tangy rice, tender seafood, and creamy richness—without the meticulous assembly. This recipe “Baked Sushi “is your answer.
Picture this: a warm casserole dish layered with seasoned rice, flaky imitation crab, and a velvety blend of cream cheese and spicy mayo. Topped with crispy seaweed and toasted sesame seeds, it’s a deconstructed twist on tradition that’s meant to be shared. No chopsticks required.
Perfect for weeknights or casual gatherings, this dish balances simplicity with indulgence. The rice gets its signature tang from rice vinegar and sugar, while furikake adds umami depth. A quick bake melds the flavors into a cohesive, comforting meal that serves four generously.
Key Takeaways
- Ideal for sharing, this recipe serves four with minimal prep time.
- Combines creamy textures and savory flavors using pantry-friendly ingredients like imitation crab and cream cheese.
- Simplifies traditional sushi-making with a layered, bake-and-serve approach.
- Customize spice levels with sriracha or add avocado for extra freshness.
- Broiling the top layer creates a golden, slightly crispy finish.
Introduction to a Delicious Sushi Bake
Social media transformed how we reimagine classic dishes, and the sushi bake trend proves it. Born from TikTok kitchens, this deconstructed version swaps meticulous rolling for layered simplicity. Busy home cooks embraced it as a “lazy-girl hack” that delivers big flavors without the fuss.
Discover the Origins and Trend
The idea exploded when food creators shared casserole-style versions of traditional rolls. Instead of shaping individual pieces, they layered seasoned rice, imitation crab, and creamy mayo-cheese sauce in baking dishes. Viewers loved how it turned sushi prep into a 20-minute assembly job.
Furikake and nori add umami depth, while rice vinegar gives the base its signature tang. The broiled top creates a golden crust, contrasting with the soft, savory mixture underneath. It’s shareable, customizable, and perfect for feeding a crowd.
Why This Recipe Works for You
You get restaurant-quality flavors using pantry staples like cream cheese and sriracha. No special tools? No problem. A standard casserole dish and oven do all the work. Plus, you control the heat level—add extra chili sauce or keep it mild.
This approach also reduces food waste. Leftover ingredients? Toss them in! Avocado slices or green onions add freshness after baking. Whether you’re new to Japanese-inspired dishes or a seasoned pro, this recipe adapts to your skill level effortlessly.
Essential Ingredients and Preparation
Great flavor starts with quality components. Let’s break down the building blocks that transform simple items into a crave-worthy casserole.
Preparing the Sushi Rice with Rice Vinegar
Begin by rinsing 2 cups of short-grain rice until the water runs clear. Soak it for 20 minutes—this prevents mushiness. Cook according to package instructions, then let it steam off-heat for 10 minutes.
While warm, gently fold in a blend of 3 tbsp rice vinegar, 1 tbsp sugar, and ½ tsp salt. Add 1 tsp sesame oil for aroma. “The vinegar mixture should coat every grain without crushing them,” advises a seasoned chef. Spread the seasoned rice in your casserole dish to cool slightly.
Mixing the Seafood and Creamy Sauces
Combine 8 oz shredded imitation crab, 4 oz softened cream cheese, and ¼ cup mayo in a bowl. For heat, mix in 1 tbsp sriracha. Fold gently to maintain the crab’s texture. Want extra richness? Add 2 tbsp Greek yogurt for tang.
Pro tip: Microwave the cream cheese for 15 seconds if it’s too firm. This creates a smoother base for your seafood mixture.
Building Layers with Nori or Furikake
Place nori sheets over the rice to prevent sogginess. Alternatively, sprinkle 1 tbsp furikake for umami depth. Spread half the seafood sauce evenly, then repeat layers.
Top with shredded mozzarella for meltiness or crispy onions for crunch. Finish with sesame seeds before baking. This stacking method ensures every spoonful delivers balanced flavors.
Step-by-Step Baking Process
The magic happens when heat transforms layered ingredients into a cohesive dish. Timing and technique ensure your creation emerges golden and bubbling—never dry or unevenly cooked.
Preheating and Assembling the Dish
Start by heating your oven to 375°F. This ensures even cooking from edge to center. While it warms, press seasoned rice into a greased casserole dish. Use damp hands to prevent sticking.
Layer nori sheets over the rice to block moisture. Spread the seafood mixture evenly, then drizzle spicy mayo. Repeat with remaining rice and toppings. Pro tip: Leave ½-inch space at the dish’s edges to prevent spillovers.
Baking and Optional Broiling Techniques
Bake uncovered for 18 minutes. Watch for bubbling edges—this signals doneness. For extra crunch, switch to broil for 2-3 minutes. Position the dish 6 inches below the heating element.
Too pale? Broil 30 seconds longer. Too dark? Reduce broiling time next round. Let rest 5 minutes before serving. This pause lets the creamy layers set while the top stays crisp.
Baked Sushi: Tips and Techniques for Perfect Flavor
Mastering this crowd-pleasing dish hinges on technique. Follow these pro strategies to balance textures and amplify taste without compromising convenience.

Achieving the Right Texture and Temperature
Cook rice 1:1 with water for firm yet tender grains. Spread it in a thin, even layer across your casserole dish. This prevents steaming and keeps the base from turning mushy.
Oven accuracy matters. Use an internal thermometer to verify 375°F before baking. Position the dish on the middle rack for consistent heat distribution. Rotate it halfway if your oven has hot spots.
Balancing Creaminess with a Crispy Top
Mix spicy mayo and eel sauce in a 2:1 ratio for tangy-sweet contrast. Spread sauce thinly over the seafood mixture—too much drowns the other flavors. For extra crunch, add panko breadcrumbs under the cheese layer.
Broil for 90 seconds max. Watch closely to avoid burning. The surface should bubble slightly and turn golden-brown. Let rest 5 minutes after baking. This helps the creamy layers set while keeping the top crisp.
| Adjustment | Effect | Tip |
|---|---|---|
| Extra sriracha | Boosts heat | Add ½ tsp to sauce mix |
| Longer bake time | Firmer texture | Increase by 3-4 minutes |
| Double sesame seeds | Nutty aroma | Sprinkle before broiling |
Green onions add freshness when tossed on post-bake. For richer flavor, swap imitation crab with smoked salmon. Keep portions small—the dish packs bold flavors in every bite.
Customizations and Variations
Transform your kitchen into a flavor lab with endless twists on this adaptable dish. Whether swapping proteins or dialing heat levels up and down, each tweak creates a fresh experience while keeping prep effortless.
Alternative Proteins and Substitutes
Not a fan of imitation crab? Try flaked salmon or canned tuna for richer seafood notes. Vegetarians can use marinated tofu or sautéed mushrooms. “The key is maintaining texture contrast,” notes a chef specializing in fusion cuisine.
For gluten-free diets, replace soy sauce with tamari. Swap regular mayo with avocado-based spreads to cut calories. Even the rice gets a makeover—cauliflower rice works for low-carb versions.
Adjusting Spice Levels and Sauces
Control heat by adjusting sriracha amounts in the creamy mix. Start with ½ tsp for mild versions or add 1 tbsp for fiery kicks. Mix in wasabi paste or chili crisp for layered heat.
Prefer tang over spice? Use lime juice instead of rice vinegar in the sauce. Drizzle eel sauce post-bake for sweet-savory balance. Dairy-free? Coconut cream substitutes beautifully for cheese.
Remember: Small changes yield big results. Swap furikake for crushed seaweed snacks. Add pickled ginger for brightness. Every tweak makes the recipe uniquely yours.
Presentation and Serving Ideas
Turn your kitchen creation into a feast for the eyes and palate. Thoughtful plating transforms this hearty casserole into an Instagram-worthy centerpiece that delights guests before the first bite.

Artful Arrangements Make All the Difference
Use a ring mold to shape individual portions of rice and seafood mixture. Top with zigzags of spicy mayo and a pinch of sesame seeds. Place crispy seaweed strips vertically for height.
For family-style serving, arrange garnishes in clusters. Try:
- Thinly sliced scallions fanned across one corner
- Furikake sprinkled along the dish’s edge
- Lemon wedges for bright citrus contrast
Complementary Flavors Elevate the Experience
Balance the dish’s richness with light accompaniments. Steamed edamame adds crunch, while a cucumber salad with rice vinegar dressing cuts through creaminess. Offer multiple sauces like ponzu or eel sauce for dipping.
Pro tip: Serve in colorful bowls with mini spoons for easy scooping. A drizzle of sriracha-infused mayo adds both heat and visual flair. Let guests customize their plates with extra ingredients like pickled ginger or wasabi peas.
Storing Leftovers and Reheating Instructions
Leftovers taste just as good tomorrow—if you store them right. Let your dish cool for 20 minutes before transferring portions to shallow, airtight containers. This prevents condensation from turning crispy layers soggy.
Keep It Fresh Longer
Refrigerate within two hours of baking. Layer parchment paper between rice and seafood mixture to maintain texture contrasts. Store garnishes like nori separately in sealed bags to preserve crunch.
For best results:
- Use glass containers to avoid absorbing odors
- Consume within 3 days for peak flavor
- Freeze portions up to 1 month in freezer-safe bowls
Reheat in a 350°F oven for 12-15 minutes to restore warmth without drying out the rice. Cover with foil if the top browns too quickly. For quick fixes, microwave single servings at 50% power for 90 seconds—stir halfway through.
Revive leftovers by adding fresh sauce drizzles or sprinkling furikake after reheating. A squeeze of lime brightens flavors better than storing citrus with the dish. Your recipe stays vibrant when you treat each component with care.
Conclusion
This innovative take on traditional flavors proves that great meals don’t need complicated steps. Your new go-to dish layers seasoned rice with creamy sauces and seafood, finished with a golden crust from the oven. It’s the ultimate fusion of comfort food and Japanese-inspired creativity.
The recipe shines through its simplicity—no rolling mats or advanced techniques required. Start with tangy sushi rice, add your protein mix, then let the bake work its magic. A quick broil transforms the top into a crispy contrast against the velvety base.
Make it yours. Swap proteins, adjust sriracha heat, or drizzle eel sauce for sweetness. Garnish with sesame seeds or fresh herbs to elevate each bite.
Ready to reinvent weeknight dinners? Whip up this sushi bake, snap a photo, and tag us with your twist. Your culinary experiment might just inspire someone else’s kitchen breakthrough.
FAQ
Can I substitute imitation crab with other proteins?
How do I prevent the rice from becoming too dry?
Is a broiler necessary for achieving a crispy top?
Can I make this dish gluten-free?
How long can leftovers stay fresh in the fridge?
What’s a good substitute for cream cheese?
Can I prepare the layers ahead of time?
How do I adjust the spice level for kids?
What’s the best way to serve this for a party?
Author’s Top Recipe Picks :
According to Harvard T.H. Chan School of Public Health, omega-3s sup

