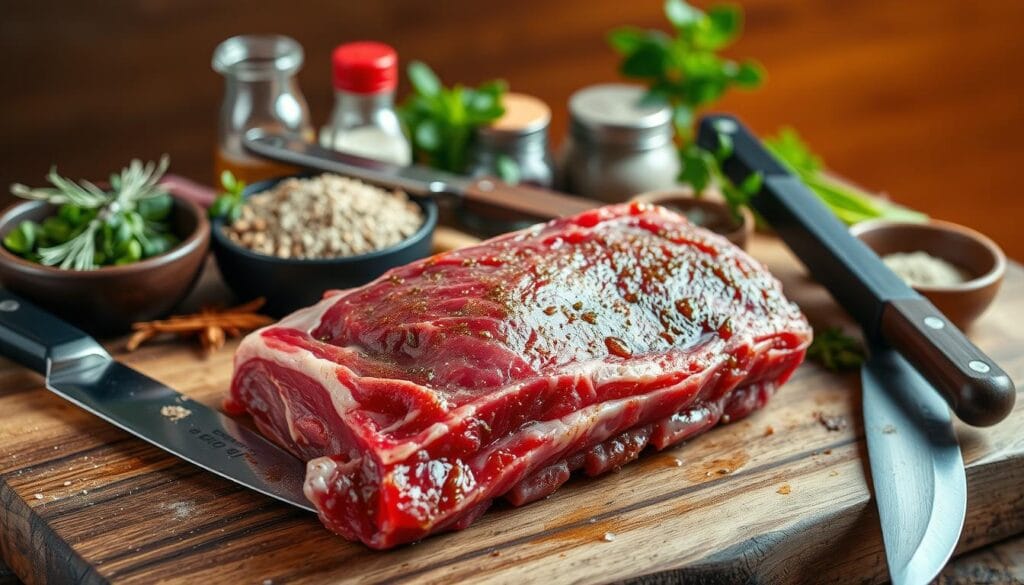
Craving tender, fall-off-the-bone beef ribs in oven without the all-day wait? You’re not alone. Traditional methods often require hours of slow cooking—but with this fast-track recipe, you can enjoy mouthwatering, juicy ribs in just 90 minutes.
Picture this: succulent beef ribs coated in a rich BBQ glaze, roasted to perfection with crispy edges and a tender center. All made right in your oven—no smoker or grill required. This method is perfect for busy weeknights when time is short, but flavor can’t be compromised.
With just a handful of pantry staples and minimal prep, you’ll have a crowd-pleasing dinner ready for four people in no time. Whether you’re feeding a family or planning a weekend meal, these beef ribs in oven are a delicious shortcut to comfort food that tastes like it took all day.
Table of Contents
Key Takeaways
- Cook tender beef ribs in just 90 minutes, perfect for busy weeknights.
- A streamlined method delivers fall-off-the-bone texture without sacrificing flavor.
- Serves 4 people generously with minimal hands-on preparation time.
- Learn why this quick-cook method works and how it differs from conventional slow-cooking techniques.
- Easy oven-baked BBQ beef ribs recipe with only 3 main ingredients.
The Secret to Quick and Tender Beef Ribs
You can enjoy fall-off-the-bone beef ribs in just 90 minutes with our innovative oven-cooking method. This approach doesn’t compromise on tenderness or flavor, making it an ideal solution for a quick meal.
Why This Recipe Works
Our recipe for beef ribs in the oven is designed to produce tender results in a significantly reduced cooking time. By employing a higher initial temperature followed by a tightly sealed foil pouch, we create a pressure-cooking environment that tenderizes the meat quickly. The combination of proper meat preparation, strategic seasoning, and moisture retention techniques allows for significantly reduced cooking time without sacrificing tenderness.
Traditional vs. Quick-Cook Method
The traditional method for cooking beef ribs typically requires 3-4 hours at low temperatures (250-275°F). In contrast, our accelerated method uses strategic temperature changes to achieve tender beef ribs in just 90 minutes. Unlike traditional methods that rely solely on time to break down tough connective tissues, this recipe uses specific preparation techniques to jumpstart the tenderizing process.
By understanding the science behind cooking beef ribs, you can achieve optimal tenderness without drying out the meat. Our method ensures that you can enjoy delicious, fall-off-the-bone beef ribs in a fraction of the time required by traditional recipes.
Ingredients You’ll Need
To achieve tender and flavorful beef ribs, you’ll need to start with the right ingredients. The quality of your ingredients plays a significant role in the final outcome of your dish.
For the Beef Ribs
For this recipe, you’ll need 3 pounds of meaty beef ribs, preferably grass-fed, to serve four people generously. You’ll also need 2-4 tablespoons of olive oil to help the seasonings adhere to the meat and promote better browning during cooking.
For the Dry Rub
The dry rub is a crucial component that adds flavor to your beef ribs. It combines garlic powder, onion powder, smoked paprika, dark brown sugar, salt, and optional cajun seasoning for a perfect flavor foundation.
For the BBQ Sauce
For the BBQ sauce component, you can use your favorite store-bought variety or make a simple homemade version with ketchup, bbq sauce, brown sugar, vinegar, and spices.
Ingredient | Quantity |
---|---|
Beef Ribs | 3 lbs |
Olive Oil | 2-4 tablespoons |
Garlic Powder | 1 tablespoon |
Onion Powder | 1 tablespoon |
BBQ Sauce | As needed |
Essential Equipment for Perfect Beef Ribs in Oven
To achieve perfect beef ribs in the oven, you’ll need some essential equipment. The right tools will help you cook the ribs to tender, fall-off-the-bone perfection.
Baking Sheets and Foil
A rimmed baking sheet or roasting pan is crucial for containing the juices released during cooking. You’ll also need heavy-duty aluminum foil to create a sealed pouch that traps steam and accelerates the cooking process. To do this, place the ribs on a foil-lined baking tray in a single layer, then add another piece of foil on top, sealing the edges tightly to prevent steam from escaping.
Meat Thermometer and Other Tools
A reliable meat thermometer is essential for ensuring your beef ribs reach the optimal internal temperature of 190-200°F. Other helpful tools include kitchen tongs for handling hot ribs, a sharp knife for membrane removal, measuring spoons for the dry rub, and a basting brush for applying BBQ sauce evenly.
Preparing Your Beef Ribs
Before cooking, your beef ribs need some essential preparation steps to ensure they turn out tender and flavorful. This process involves a few critical actions that make a significant difference in the final result.
Removing the Membrane
Start by removing the thin membrane from the bone side of the beef ribs. Use a butter knife to loosen it, then grip and pull it away completely with paper towels. This step is crucial as it allows the dry rub to penetrate the meat more effectively and helps to tenderize the ribs.

Applying the Dry Rub
Thoroughly pat the ribs dry with paper towels to ensure the dry rub adheres properly to the meat surface. Then, apply a light coating of olive oil to the ribs before adding the dry rub. This helps the seasonings stick and promotes better caramelization. Massage the dry rub thoroughly into all surfaces of the beef ribs, ensuring even coverage on both the meaty side and bone side.
Marinating Tips
For enhanced flavor development, place the seasoned ribs in a sealed container or ziplock bag and allow them to marinate for 30-60 minutes before cooking. You can also add a hint of bbq flavor by incorporating liquid smoke into the marinade. This step can be adjusted according to your time constraints, even within the 90-minute recipe framework.
To maximize the tenderness and flavor, make sure to coat the ribs evenly and avoid excessive fat or bone fragments that might affect the overall texture.
The 90-Minute Cooking Method
The key to cooking beef ribs in 90 minutes lies in the right combination of temperature and technique. To start, you’ll need to preheat your oven to a higher temperature than traditional methods to accelerate the cooking process.
Preheating and Initial Setup
Begin by preheating your oven to 350°F. This initial high heat helps to break down the connective tissues in the meat quickly.
Creating the Perfect Foil Pouch
Place the seasoned beef ribs on a foil-lined baking sheet in a single layer, ensuring they don’t overlap. Then, create a tight foil pouch by adding another sheet of heavy-duty foil over the ribs and crimping the edges firmly to seal in moisture and create a pressure-cooking environment.
Temperature and Timing Guide
Bake the beef ribs at 350°F for 45 minutes, then reduce the temperature to 325°F for the remaining 45 minutes. This two-stage cooking process helps achieve the perfect balance of tenderness and texture.
- Cooking time: 90 minutes total
- Initial temperature: 350°F
- Secondary temperature: 325°F
How to Check for Doneness
Check for doneness by inserting a fork between the bones. The meat should offer little resistance and begin to separate from the bone when properly cooked. This method ensures that your beef ribs are tender and ready to eat.
Finishing Touches for Fall-Off-The-Bone Texture
To achieve the perfect fall-off-the-bone texture, a few final steps are crucial. After cooking your beef ribs to the desired level of doneness, it’s time to add the finishing touches that will elevate them to the next level.
Applying the BBQ Sauce
Carefully open the foil pouch and drain off any excess fat that has accumulated. Then, apply a generous layer of your favorite BBQ sauce to the ribs using a basting brush, ensuring even coverage on all exposed meat surfaces. This step is crucial for adding flavor and moisture to your ribs.

Broiling for Caramelization
Set your oven to broil and return the sauced ribs (uncovered) to the oven for 3-5 minutes until the BBQ sauce caramelizes and begins to bubble and darken at the edges. Be cautious during this step, as the high sugar content in BBQ sauce can burn quickly under the intense heat.
Resting Period
Once the ribs are done, remove them from the oven and let them rest for 5-10 minutes before serving. This resting period allows the meat to retain its juices, making for a more tender eating experience. Your patience will be rewarded with ribs that are truly fall-off-the-bone tender.
Delicious Side Dishes to Serve with Beef Ribs

To create a well-rounded meal, consider serving your beef ribs with a variety of delicious side dishes. The right accompaniments can balance the richness of the beef ribs and enhance the overall BBQ experience.
Vegetable Options
Balance the richness of beef ribs with fresh vegetable sides. Options like coleslaw, roasted Brussels sprouts, or a simple green salad with vinaigrette provide a refreshing contrast to the savory ribs.
Starchy Sides
Starchy sides pair perfectly with beef ribs. Consider classic mac and cheese, baked beans, cornbread, or garlic mashed potatoes to complement your BBQ sauce-glazed ribs.
Complementary Sauces
Offer your guests variety beyond the BBQ sauce on the ribs. Additional sauce options like homemade ranch dressing, Alabama white sauce, or Carolina mustard sauce can enhance the dining experience.
For a complete meal, don’t forget to serve refreshing beverages like sweet iced tea, lemonade, or a crisp beer to complement the bold flavors of the beef ribs.
Storage, Reheating and Leftover Ideas
Proper storage of leftover beef ribs is crucial to maintain their flavor and texture. You can enjoy your meal for days to come by following the right storage and reheating techniques.
Refrigeration Guidelines
To keep your ribs fresh, store them in an airtight container in the fridge for up to 3 days. Make sure to keep the meat and BBQ sauce together to prevent drying out.
Freezing Methods
For longer storage, you can freeze your beef ribs. Wrap the cooled ribs tightly in plastic wrap followed by aluminum foil before placing them in a container or freezer-safe bag. They can be stored in the freezer for up to 3 months.
Best Ways to Reheat
When reheating ribs from the fridge, place them in a 275°F oven covered with foil for 15-20 minutes until warmed through. If you’ve frozen your ribs, thaw them overnight in the fridge before reheating using the same low-temperature method. You can also transform leftover beef rib meat into delicious tacos, sandwiches, or chopped BBQ for nachos by removing it from the bones and combining it with additional sauce.
Conclusion
Mastering the art of quick beef ribs cooking means you can enjoy tender, flavorful ribs any day. By following this recipe, you’ve streamlined the cooking process to just 90 minutes, achieving BBQ-quality results in a fraction of the time. The techniques of membrane removal, proper seasoning, foil-pouch cooking, and final broiling work together to create perfectly tender ribs in the oven. You can now confidently adapt this method to different quantities or experiment with your favorite BBQ sauce combinations. Enjoy impressing family and friends with delicious BBQ beef ribs even on busy weeknights.
FAQ
How long does it take to cook beef short ribs?
What is the best way to store leftover BBQ sauce?
Can I freeze beef ribs after cooking?
How do I reheat frozen beef ribs?
What sides go well with BBQ beef ribs?
How do I achieve a caramelized crust on my beef ribs?
Can I make homemade BBQ sauce?
What is the recommended internal temperature for cooked beef ribs?
Try These Next:
- Gluten-Free Desserts for Busy Professionals
- Dairy-Free & Gluten-Free Soup Ideas
- Healthy Weeknight Meals