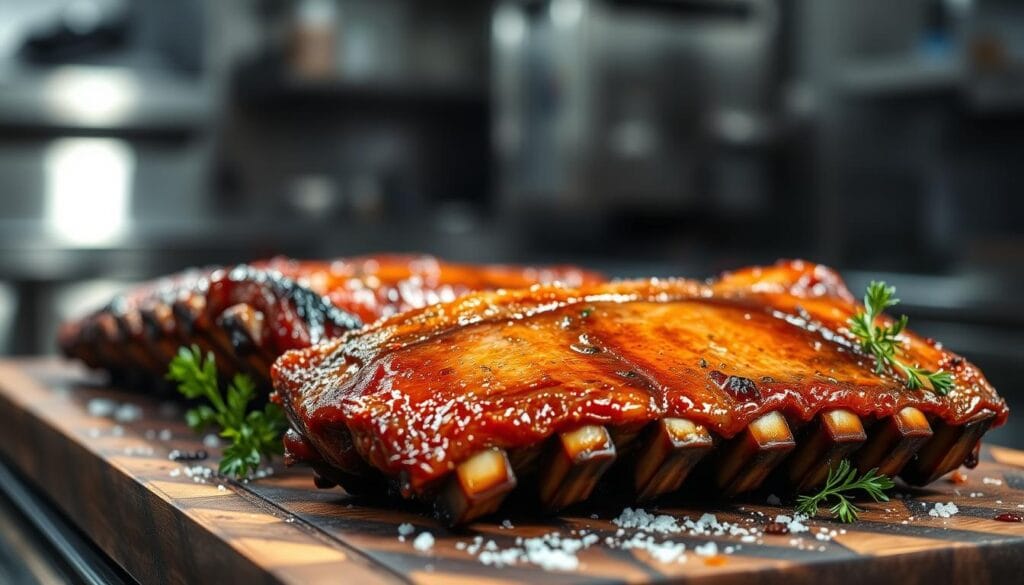
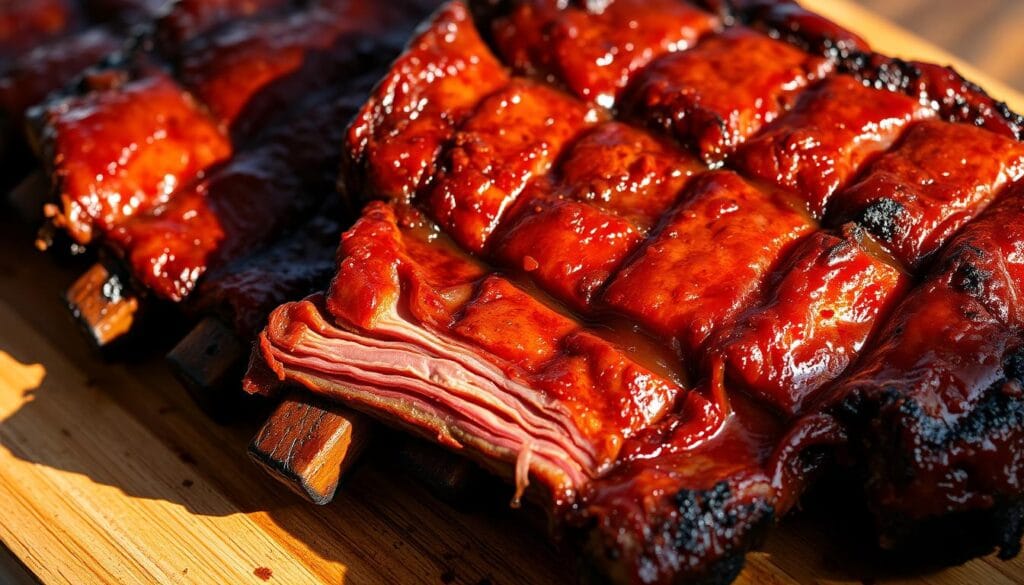
Beef Baby Back Ribs for Beginners – 2 Cooking Methods & 1 Perfect Result

Imagine sinking your teeth into tender, fall-off-the-bone ribs that are slathered in your favorite barbecue sauce. It’s a culinary delight that’s easier to achieve than you think, even if you’re a beginner in the kitchen.

Cooking beef baby back ribs to perfection is now within your reach. This guide will walk you through two simple cooking methods that yield consistently delicious results. Whether you’re looking to impress your family or just craving a satisfying meal, you’ll learn how to prepare oven-baked ribs that are sure to please.

By following this comprehensive guide, you’ll gain the confidence to cook ribs like a pro, without the need for specialized grilling equipment. Get ready to enjoy restaurant-quality beef back ribs right in the comfort of your own home.

Key Takeaways

  • Learn two foolproof methods for cooking tender and flavorful beef baby back ribs.
  • Discover how to select and prepare the right ribs for oven baking.
  • Understand the importance of removing the membrane for better flavor absorption.
  • Master the technique of applying the perfect rub for your ribs.
  • Determine when your ribs are done to perfection using simple guidelines.

Understanding Beef Baby Back Ribs

Beef baby back ribs, despite being lean, are packed with flavor. They are a cut of beef that remains after the butcher removes the ribeye roast from the bones.

What Are Beef Back Ribs?

Beef back ribs are characterized by their curved shape and the meat sitting on top of the bones. Unlike pork ribs, beef back ribs have less meat but offer a rich, beefy flavor. They are essentially the leftover bones from a prime rib, making them a unique cut.

Why They’re Perfect for Beginners

Beef back ribs are ideal for beginners because they are forgiving in terms of cooking time. When cooked low and slow, the collagen-rich meat becomes tender and breaks down into a melt-in-your-mouth texture. They are also budget-friendly and perfect for special occasions due to their impressive presentation.

CharacteristicsBenefits
Lean cut with less meatRich, beefy flavor
Forgiving cooking timeTender when cooked low and slow
Budget-friendlyPerfect for special occasions

Essential Ingredients for Perfect Beef Baby Back Ribs

To achieve perfect beef baby back ribs, you’ll need to start with the right ingredients. The quality of your ribs, dry rub, and sauce will directly impact the final result.

The Ribs

For a 4-person serving, you’ll need approximately 4 pounds of beef back ribs, which typically amounts to about 2 ribs per person when served with sides. When selecting beef back ribs, look for racks with good meat coverage to ensure the best eating experience.

Dry Rub Ingredients

The foundation of flavor for your ribs comes from a well-balanced dry rub. To make the dry rub, you’ll need 2 teaspoons of smoked paprika, 1 teaspoon of garlic powder, 1 teaspoon of onion powder, 1 teaspoon of salt, and 1 teaspoon of black pepper. Using freshly ground black pepper and high-quality spices is crucial for the most flavorful results.

Sauce Options

While a classic BBQ sauce is traditional for finishing beef ribs, you can explore alternatives like maple bourbon glaze, teriyaki sauce, or even a simple butter and herb mixture. For those following special diets, look for keto-friendly or Whole30-compliant BBQ sauces, or make your own with natural sweeteners like maple syrup instead of refined sugar. You’ll need about ½ cup of BBQ sauce for 4 pounds of beef back ribs.

Preparing Your Beef Baby Back Ribs

To achieve tender and flavorful beef baby back ribs, proper preparation is key. This involves two crucial steps: removing the membrane and applying the dry rub.

Removing the Membrane

Start by removing the thin membrane from the bone side of the ribs. Use a blunt knife to gently loosen it, then grip it with a paper towel and pull it away. This step allows seasonings to penetrate the meat, resulting in more tender ribs. If you’re short on time, consider asking your butcher to do this step or look for pre-prepared beef back ribs.

Applying the Dry Rub

Before applying the dry rub, pat the ribs dry with paper towels to ensure the seasonings adhere properly. Generously apply the dry rub to both sides of the ribs, massaging it into every nook and cranny. For deeper flavor, you can prep the ribs up to 24 hours in advance and refrigerate them overnight. Let the seasoned ribs sit at room temperature for about 30 minutes before cooking to promote even cooking.

Cooking Method #1: Foil-Wrapped Oven Baking

Foil-wrapped oven baking is a beginner-friendly technique for cooking beef back ribs. This method creates a sealed environment that traps moisture and heat, resulting in tender ribs with minimal effort.

Step-by-Step Instructions

To start, preheat your oven to 275°F (135°C), the ideal temperature for low and slow cooking. Line a baking sheet with heavy-duty aluminum foil for easy cleanup. Place your seasoned ribs bone-side up on the foil-lined sheet. Cover the ribs completely with a second sheet of foil, crimping the edges tightly to seal the packet. This step is crucial for trapping steam and preventing moisture loss.

  • Preheat oven to 275°F (135°C).
  • Line a baking sheet with aluminum foil.
  • Place seasoned ribs bone-side up on the foil.
  • Cover with a second sheet of foil and seal tightly.

Temperature and Timing

Place the foil-wrapped ribs in the preheated oven and bake for 3-4 hours, depending on the meat’s thickness. Resist the urge to peek during cooking, as this can release valuable steam and extend cooking time. The ribs are done when the meat has pulled back from the bone ends by about 1/4 inch and a fork or toothpick can easily penetrate the meat between the bones.

Cooking Method #2: Slow Bake with Basting

Achieving tender and flavorful beef back ribs is easy with the slow bake with basting method, which involves regular basting and low oven heat. This technique allows for a more complex flavor profile and a slightly firmer texture compared to the foil-wrapped method.

Creating the Basting Liquid

To start, create a simple yet effective basting liquid by whisking together apple cider vinegar and hot sauce in a small bowl. This mixture adds tanginess and depth to the ribs without making them spicy.

Step-by-Step Instructions

Preheat your oven to 250°F (121°C). Place your seasoned ribs on a parchment-lined baking sheet, bone side down. Spray the tops with olive oil and sprinkle with smoked salt, black pepper, smoked paprika, onion powder, and garlic powder. Bake the ribs uncovered for 1 hour. Then, remix the basting liquid and divide it among three small bowls. Baste the tops of the ribs with a third of the marinade every hour for the next three hours.

Temperature and Timing

The total cooking time for this method is approximately 4-5 hours, with the final hour potentially at a reduced temperature of 200°F (93°C) for extra tenderness.

Cooking MethodTemperatureTime
Slow Bake with Basting250°F (121°C)4-5 hours
Final Hour Option200°F (93°C)1 hour

Finishing Touches for Both Methods

To take your beef baby back ribs to the next level, it’s essential to master the finishing touches, including saucing and broiling. Regardless of the cooking method you choose, these final steps elevate your ribs from good to extraordinary.

Adding BBQ Sauce or Glaze

Once your ribs are tender and nearly done, it’s time to apply your chosen sauce or glaze. For the foil-wrapped method, carefully unwrap the ribs, drain excess fat from the baking sheet, and flip them so the meaty side faces up. Then, brush ½ cup of sauce on the ribs, coating them thoroughly on all sides.

Broiling for the Perfect Finish

Set your broiler to High and place the baking sheet approximately 6 inches below the heat source. Broil for 3 to 5 minutes, or until the sauce is caramelized and the exterior is crispy. Watch carefully to prevent burning.

StepActionTiming
1Apply BBQ SauceAfter 4 hours in the oven
2Broil3-5 minutes
beef back ribs

Tips for Perfectly Tender Beef Baby Back Ribs

With the right approach, you can achieve tender and flavorful beef baby back ribs that will impress anyone. Cooking beef back ribs requires patience and understanding of the low slow cooking process.

Common Mistakes to Avoid

One of the most critical factors in cooking tender ribs is avoiding common mistakes. Don’t rush the cooking process by increasing the oven temperature, as this will result in tough meat. Instead, cook the ribs low and slow for at least 3-4 hours. Always place the ribs with the bone side facing the heat source initially to protect the delicate meat from drying out.

How to Tell When They’re Done

You can tell the ribs are done when the meat has shrunk back from the ends of the bones by about 1/4 inch. A toothpick or fork should easily penetrate the meat between the bones with little resistance. Another test is to pick up the rack with tongs; properly cooked ribs will bend easily.

Serving and Storage

Once your beef back ribs are cooked to perfection, it’s time to think about serving and storing them. Proper presentation and storage can make a significant difference in the overall dining experience.

Perfect Side Dishes

Beef back ribs are rich and hearty, so they pair best with sides that provide contrast in texture and flavor. Consider serving them with fresh, acidic salads like a roasted vegetable salad with quinoa or a charred corn salad with lime and cilantro. For a complete meal, aim for 2-3 ribs per person when served with complementary side dishes like herb potato salad, sweet potato hash, or grilled zucchini slices.

  • Roasted vegetable salad with quinoa
  • Charred corn salad with lime and cilantro
  • Herb potato salad
  • Sweet potato hash
  • Grilled zucchini slices

Storing and Reheating Leftovers

If you have leftover ribs, store them in an airtight container in the fridge for up to 4 days, making sure they’ve cooled to room temperature before refrigerating. To reheat, transfer the ribs to a baking sheet, cover them with aluminum foil, and bake at 350°F for 15 to 20 minutes or until warm throughout. For longer storage, you can freeze cooked beef back ribs in freezer-safe containers or heavy-duty freezer bags for up to 3-6 months.

beef back ribs

Conclusion

With the techniques outlined in this guide, you’re ready to impress with perfectly cooked beef baby back ribs. Both the foil-wrapped oven baking and slow bake with basting methods deliver exceptional results, making them accessible to cooks of all levels.

The key to tender ribs lies in patience and low, slow cooking. As you master these techniques, feel free to experiment with different dry rubs and sauces to create your signature beef rib recipe. Whether for a special occasion or a family dinner, your beef back ribs are sure to become a favorite, serving multiple servings with ease and pairing well with various sides.

FAQ

How long can I store leftovers in the fridge?

You can store leftovers in an airtight container in the fridge for up to 3-4 days. Make sure to reheat them to an internal temperature of 165°F (74°C) before serving.

Can I use a different type of powder instead of garlic powder?

Yes, you can experiment with different seasonings, but keep in mind that garlic powder adds a distinct flavor to the dry rub. You can also mix garlic powder with other spices to create a unique flavor profile.

How do I know when the ribs are done?

The ribs are done when the meat is tender and falls off the bone. You can check for doneness by inserting a fork or knife into the meat; if it slides in easily, they’re ready. The internal temperature should be around 190°F (88°C).

Can I bake the ribs at a higher temperature to save time?

While you can bake the ribs at a higher temperature, it’s not recommended as it may result in tough or overcooked meat. Baking at a low temperature (275-300°F or 135-150°C) ensures tender and fall-off-the-bone results.

How do I remove the membrane from the bone side of the ribs?

To remove the membrane, simply slide a knife or your fingers under the membrane and gently pry it off. This will help the dry rub penetrate the meat and result in tender ribs.

Can I make the dry rub ahead of time?

Yes, you can prepare the dry rub ahead of time and store it in an airtight container at room temperature for up to a week. You can also store it in the fridge for longer periods.

Author’s Top Recipe Picks :