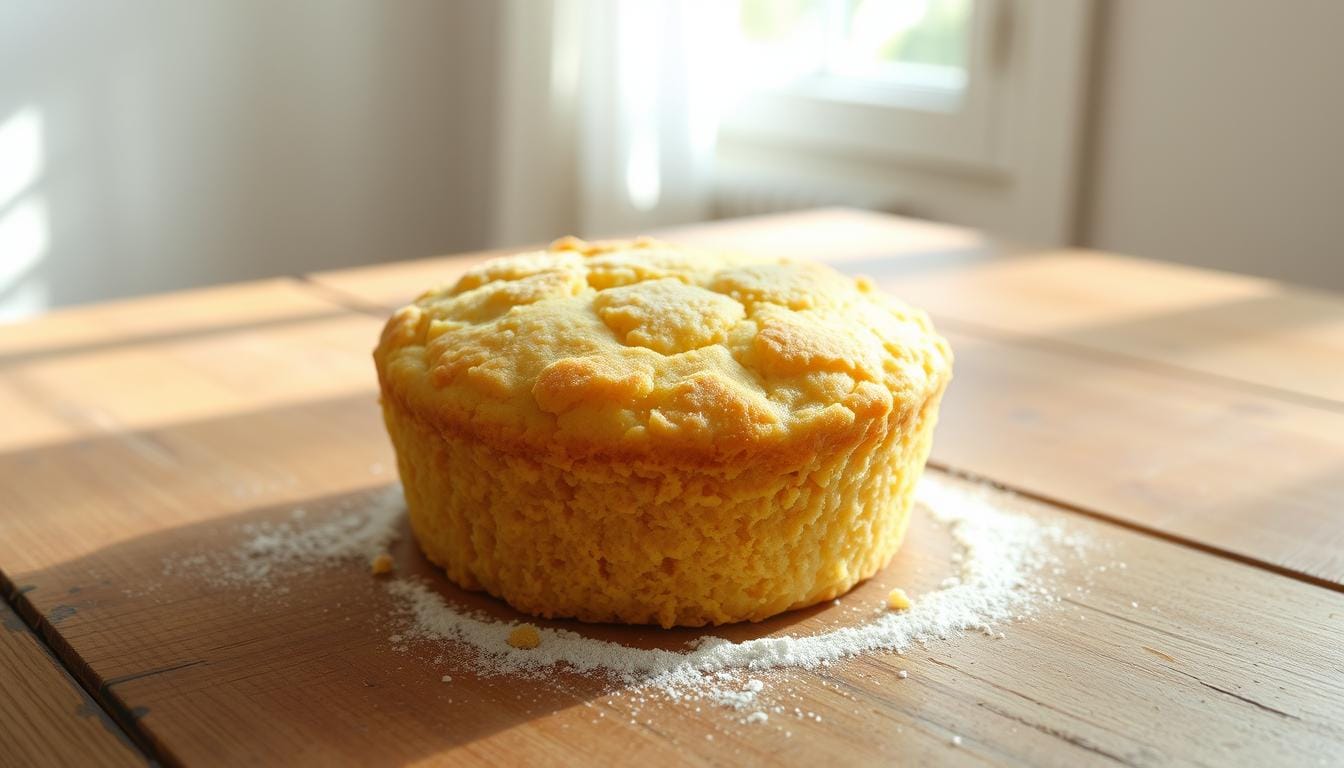
GF Cornbread Recipe Without Flour – 6 Ingredients Only

If you’re searching for a GF cornbread recipe that delivers true Southern comfort without the gluten, you’re in the right place. There’s something special about the golden, crumbly texture of traditional cornbread—it’s nostalgic, hearty, and often tied to family meals and Sunday dinners. But when gluten isn’t an option, those comforting flavors can feel out of reach.

This gluten-free version brings them back, without compromise. It’s not just a replacement—it’s a flourless twist on classic Southern buttermilk cornbread, made for those who want bold flavor and easy preparation. No hard-to-find ingredients. No complicated techniques. Just six pantry staples, including fine cornmeal, baking powder for rise, and a hint of sweetness that balances perfectly with the corn’s natural depth.

Rooted in Southern practicality, this GF cornbread recipe comes together in minutes and bakes in under 25. It’s a go-to side dish for weeknight dinners, cozy weekends, or impromptu gatherings—warm, rustic, and ready to share.

Key Takeaways

  • A gluten-free twist on traditional Southern cornbread, using only six ingredients
  • Rooted in regional heritage but adapted for modern dietary preferences
  • No flour needed—cornmeal provides the base texture and flavor
  • Quick preparation with bake minutes under 25 for fast results
  • Perfectly balanced with baking powder for a light, tender crumb

Introduction & Southern Inspirations

Southern tables have long celebrated cornbread as a symbol of hospitality. It’s woven into memories of Tennessee potlucks and family reunions, where cast iron skillets delivered steaming wedges to hungry crowds. This dish isn’t just food—it’s a bridge between generations.

The Heritage Behind This Recipe

Traditional versions relied on stone-ground cornmeal, buttermilk, and a hot oven. Families often passed down methods verbally, with measurements like “a handful” or “until it looks right.” After marriage, I learned my husband’s grandmother’s method—a recipe scribbled on stained index cards. Over time, health shifts demanded changes, but the soul of the dish remained.

Why a Gluten-Free Twist?

Necessity sparked innovation. When dietary restrictions arose, cornmeal’s natural lack of gluten became its strength. Choosing certified gluten-free cornmeal ensured safety without altering texture. Swapping dairy for plant-based milk and vinegar maintained the tangy lift of buttermilk. Simple adjustments proved that tradition could adapt without losing its essence.

This approach honors Southern practicality. By focusing on core ingredients, you preserve flavors that feel both familiar and inclusive. Whether served with chili or collards, it’s a reminder that good food transcends limitations.

Understanding Your Ingredients

Every great dish starts with its building blocks. For this version, simplicity meets precision. The right components ensure flavor and texture stay true to tradition while accommodating modern needs.

Key Ingredients Overview

Gluten-free cornmeal forms the foundation. Its coarse grind adds rustic texture and earthy sweetness. Pair it with a certified gluten-free flour blend to mimic the structure wheat usually provides.

Measure dry ingredients using the spoon-and-level method. Lightly spoon flour into a cup, then level with a knife. This prevents dense results. Baking powder lifts the batter, while a touch of sweetener balances the corn’s natural bitterness.

Substitutions for Dairy and Eggs

Dairy-free? Swap buttermilk with almond milk mixed with 1 tbsp vinegar. Let it sit 5 minutes to thicken. For egg-free versions, try flax eggs or commercial replacers. These keep moisture intact without altering taste.

Your oven does the heavy lifting. Bake at 375°F for 20-25 minutes. Check doneness by inserting a toothpick—crumbs should cling lightly. Let it cool slightly before slicing to preserve tenderness.

Essential Tools & Equipment

Your kitchen arsenal plays a pivotal role in gluten-free success. While ingredients matter, the right tools ensure consistency—especially when working with delicate batters. Let’s break down what you’ll need to nail this dish every time.

Pan Options: Cast Iron Skillet vs. 9×9-Baking Pan

A cast iron skillet delivers crispy edges and even heat distribution, mimicking traditional Southern methods. Preheat it in the oven before adding batter for that signature golden crust. If using a 9×9 pan, reduce bake time by 3-5 minutes to prevent drying.

Grease either option thoroughly with butter or gluten-free spray. Skillets retain heat longer, keeping your bread warm at the table. Baking pans offer portion control—ideal for slicing into neat squares.

Measuring Techniques for Gluten-Free Flour

Precision is non-negotiable. Use the spoon-and-level method for flour: lightly spoon it into a cup, then scrape off excess with a knife. Packing flour compacts it, leading to dense results.

For liquids like milk, use liquid measuring cups. Mix dry ingredients first—cornmeal, sugar, and baking powder—to avoid clumps. A whisk blends everything smoothly, creating a lump-free batter ready for the oven.

Preparing Your Batter

The secret to moist, tender crumb lies in the mixing method. Whether you’re a seasoned baker or new to gluten-free recipes, precise steps ensure your batter behaves like traditional versions. Let’s break down the process into foolproof stages.

Creating the Buttermilk Mixture

Start by combining 1 cup dairy-free milk with 1 tablespoon vinegar in a small bowl. Let it sit 5 minutes until thickened—this mimics buttermilk’s tang. Use almond or oat milk for neutral flavor. The acidity activates powder later, ensuring proper rise.

Step-by-Step Mixing Instructions

Whisk 2 eggs, ¼ cup sugar, and 2 tbsp honey in a large bowl until frothy. In another bowl, mix 1 ½ cups cornmeal, 1 tsp salt, and 1 tbsp baking powder. Gradually blend dry ingredients into wet mix using a spatula.

Pour in ⅓ cup melted butter and the buttermilk substitute. Fold gently—overmixing creates dense results. Aim for smooth batter with minimal lumps. Trusted recipes show this technique prevents grittiness while keeping the crumb light.

Pour batter into your prepared pan. Bake immediately for even rise. Serve warm as a side with soups or chili. This method adapts well to savory recipes—add jalapeños or cheese for a flavorful twist.

Mastering the GF Cornbread Recipe

Picture pulling a perfectly golden slice from the oven—its edges crisp, center tender, and aroma inviting. Achieving this requires more than just mixing ingredients. It’s about precision and understanding how small choices shape your final result.

Tips for Light, Fluffy Texture

Start with prep work. Measure your flour blend using the spoon-and-level method to avoid dense results. Overpacking starches can create a gummy texture. Always preheat your oven 10 minutes before baking—uneven heat leads to collapsed centers.

For dairy-free versions, almond milk shines. Mix it with vinegar to mimic buttermilk’s tang, which activates baking powder. Let the batter rest 5 minutes after mixing. This hydrates the flour blend, ensuring a smoother rise.

The toothpick test is non-negotiable. Insert one into the center at 20 minutes—if it emerges with moist crumbs, it’s done. Clean? You’ve overbaked. “Gluten-free batters dry out faster,” notes a baking expert. “Err on the side of slight moisture.”

Finally, avoid overmixing. Fold wet and dry ingredients until just combined. Tiny lumps are okay—they’ll vanish during baking, leaving you with a cloud-like crumb that pairs perfectly with soups or chili.

Baking Techniques & Oven Tips

Perfecting your bake starts long before the oven timer dings. Temperature control and pan choice shape the final texture—crispy edges, tender center, and golden hue. Let’s explore how to balance heat and tools for foolproof results.

gluten-free baking techniques

Preheating and Temperature Guidelines

Always preheat your oven to 375°F. Cast iron skillets need 10 minutes inside to absorb heat evenly, creating that iconic crust. For metal pans, reduce preheating to 5 minutes to avoid scorching.

Butter plays two roles here: grease your pan thoroughly to prevent sticking, and let excess melt into the batter for richness. If using a skillet, swirl melted butter across the surface before pouring in the mix.

How to Test for Doneness

Insert a toothpick into the center at 20 minutes. Moist crumbs clinging to it mean it’s ready. Clean? You’ve gone too far. The edges should pull slightly from the pan, signaling even baking.

Eggs provide structure, so ensure they’re fully incorporated during mixing. Let the loaf rest 10 minutes after baking—this allows steam to settle, preventing a gummy crumb. Slice warm and serve with a pat of butter for that classic comfort-food finish.

Customizing Your Cornbread

Your kitchen is a playground for flavor experiments. Mix-ins transform basic bread into a signature dish, letting you tailor each batch to your cravings or dietary needs. Whether you crave heat, richness, or crunch, simple additions elevate every bite.

Flavor Boosters That Adapt to You

Chopped jalapeños or diced green chiles add a spicy kick without overpowering the corn’s sweetness. For creamy texture, fold in shredded dairy-free cheese—it melts beautifully during baking. Fresh corn kernels or sun-dried tomatoes introduce bursts of natural sweetness.

Need lower fat options? Swap butter with unsweetened applesauce or mashed banana. These keep moisture intact while reducing oil content. Almond milk mixed with vinegar works as a tangy buttermilk substitute, maintaining lift without dairy.

Add-InFlavor ImpactTexture EffectFat Content
JalapeñosSpicy, boldCrunchy bitsLow
Dairy-free cheeseCreamy, savoryGooey pocketsModerate
Almond flourNutty richnessDenser crumbHigh

Store leftovers in an airtight container for up to three days. For longer freshness, wrap slices in foil and freeze. Reheat in a 350°F oven to restore that just-baked crispness.

Egg-free versions thrive with flax eggs or commercial replacers. These bind ingredients without altering taste, proving that dietary shifts don’t mean sacrificing flavor. Your creations can stay as inclusive as they are delicious.

Nutritional Insights & Storage Solutions

nutritional facts gluten-free

Balancing nourishment and taste starts with understanding what’s on your plate. This flour-free creation offers more than just comfort—it delivers smart choices for mindful eating without sacrificing satisfaction.

Breaking Down the Numbers

Each serving (1/8th of the pan) contains roughly 180 calories. Here’s the macronutrient blend: 28g carbs from cornmeal’s natural starches, 4g protein from eggs, and 6g fat primarily from butter or oil. These values shift slightly based on substitutions.

NutrientPer ServingSource
Fiber2gCornmeal
Sugar5gHoney & natural corn sweetness
Sodium320mgBaking powder & salt

The texture comes from cornmeal’s coarse grind, while flavor emerges through buttermilk’s tang and honey’s mild sweetness. Using 1 ½ cups of cornmeal ensures structural integrity without dense results.

Store leftovers in airtight containers at room temperature for two days. For longer freshness, wrap slices in foil and freeze up to three months. Reheat frozen portions directly in a 350°F oven—this revives the crispy edges and moist texture.

Swap honey for maple syrup to reduce glycemic impact, or use avocado oil instead of butter for heart-healthy fats. These tweaks adjust calories by 10-15 per serving but keep the flavor profile intact. Simple ingredient blend adjustments let you tailor nutrition without compromising taste.

With no artificial additives and whole-food ingredients, this dish fits seamlessly into gluten-free lifestyles. It proves that mindful eating can still honor tradition—one golden slice at a time.

Serving Suggestions & Perfect Pairings

The final flourish of any dish lies in how you present it. A warm slice becomes a canvas for creativity—whether you lean sweet, savory, or somewhere in between. Let’s explore ways to make your creation shine at every meal.

Great Side Dishes and Toppings

Start with classic pairings. Hearty soups like tomato basil or chicken tortilla gain depth when dipped into crumbly wedges. For chili nights, crumble a teaspoon of smoked paprika into your bowl—it amplifies the corn’s natural sweetness.

Breakfast lovers can toast slices and top them with almond butter or mashed avocado. Add a drizzle of honey for balance. “Texture contrast is key,” notes a Bob’s Red Mill baking expert. “Our gluten-free cornmeal adds rustic charm while staying tender.”

ToppingFlavor ProfileBest Paired With
Whipped honey butterSweet & creamyBrunch spreads
Pickled jalapeñosTangy heatBBQ dishes
Herbed goat cheeseSavory richnessSalad courses

Leftovers deserve love too. Follow these instructions for revival: wrap slices in foil and bake at 325°F for 8 minutes. For stuffing, cube day-old bread and toss with sautéed onions before baking.

Always measure spices precisely—a leveled teaspoon of cinnamon transforms French toast versions. Bob’s Red Mill products ensure consistency, making every batch as reliable as your grandmother’s handwritten notes.

Conclusion

Mastering a classic dish doesn’t require complex swaps—just smart choices. This gluten free approach preserves Southern tradition while welcoming modern needs. With six simple ingredients and a cast iron skillet, you achieve crispy edges and tender crumb in under 25 minutes.

Adaptability shines here. Swap dairy with unsweetened almond milk or use flax eggs for plant-based versions. The method thrives on flexibility—add jalapeños for heat or honey for sweetness without compromising texture.

Your cast iron skillet isn’t just nostalgic; it’s practical. Preheating ensures even baking, while its natural seasoning enhances flavor depth. Trusted ingredients like stone-ground cornmeal and gluten free leaveners guarantee safety and satisfaction.

Whether served with chili or enjoyed solo, this free cornbread proves dietary shifts needn’t erase heritage. Share your creations online—tag photos to inspire others exploring inclusive, flavor-packed baking. After all, good food grows richer when shared.

FAQ

Can I use almond milk instead of dairy in this recipe?

Yes! Unsweetened almond milk works well as a dairy substitute. For a buttermilk alternative, mix it with vinegar or lemon juice before adding to the batter.

How do I test if the bread is fully baked?

Insert a toothpick into the center. If it comes clean with no wet batter, your cornbread is ready. Let it cool slightly before slicing.

What’s the best pan for achieving crispy edges?

A preheated cast iron skillet creates a golden, crispy crust. For softer edges, use a 9×9-inch baking pan lined with parchment paper.

Can I make this recipe without eggs?

Absolutely. Replace eggs with flax eggs or applesauce for a vegan-friendly version. Adjust baking time by 2–3 minutes if needed.

How long does it stay fresh after baking?

Store leftovers in an airtight container for up to 3 days. Reheat in the oven or toaster to restore its light texture.

Why did my cornbread turn out dense?

Overmixing the batter can cause this. Gently fold ingredients until just combined, and ensure your baking powder is fresh for optimal rise.

Can I add mix-ins like cheese or jalapeños?

Definitely! Fold in shredded cheese, diced peppers, or herbs before baking. Adjust salt levels if using salty add-ins like cheddar.

Author’s Top Recipe Picks :
Gluten Free Meals: Top 15 Delicious and Celiac-Friendly Recipes

Great Gluten Free Meals: 5 Quick and Easy Weeknight Dinners

Learn More

Leave a Comment